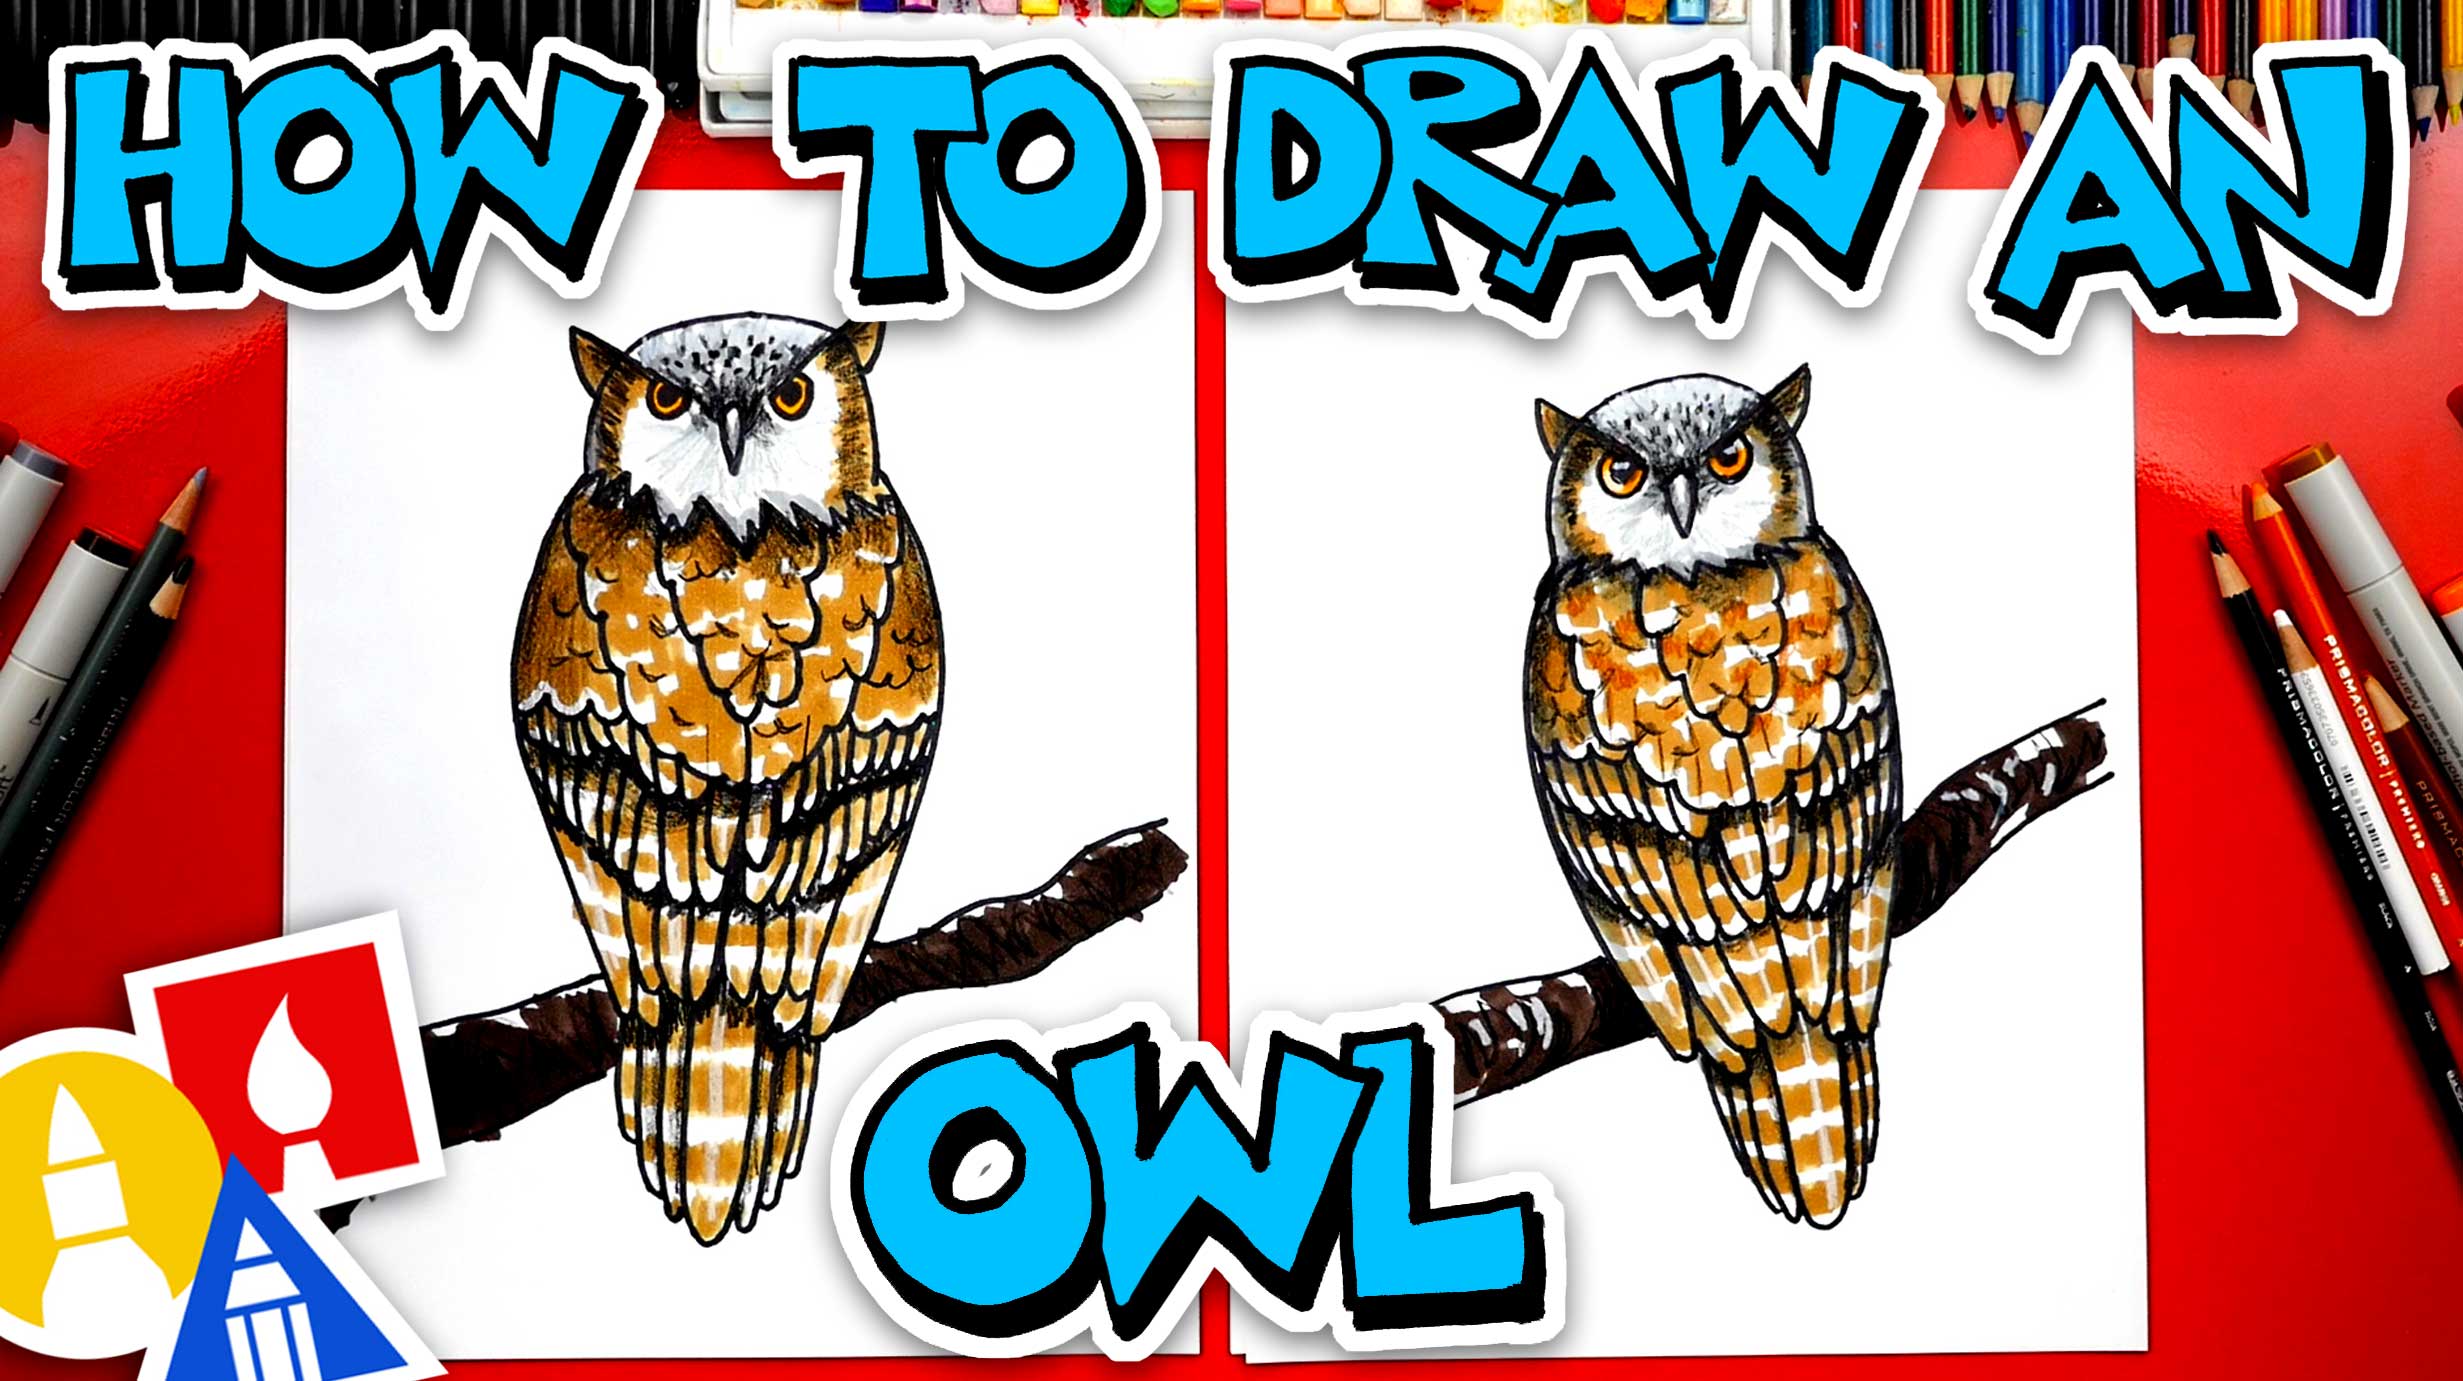
Embarking on a quest to capture the verisimilitude of an owl through drawing transcends mere replication; it’s an exercise in perceptual acuity and an exploration of avian anatomy. The following compendium elucidates a sequenced methodology, affording both neophytes and seasoned artists the wherewithal to render a strikingly lifelike depiction of these nocturnal raptors.
I. The Foundation: Establishing Proportions and Form
A. The Ovoid Scaffold: Begin by delineating two intersecting ovoids. The larger, superior ovoid will serve as the cranium, while the smaller, inferior ovoid will constitute the thorax. The intersection point should approximate the juncture between the neck and torso, dictating the owl’s posture.
B. Axial Alignment and Symmetry: Bisect both ovoids with vertical axes. These axes are paramount for ensuring bilateral symmetry, a hallmark of realism. Deviations can unintentionally engender caricatured results.
C. Limb Placement and Preliminary Sketching: Lightly sketch the preliminary placement of the wings and talons. Consider the owl’s pose; is it perched, in flight, or poised to strike? These initial placements dictate the dynamism of the piece.
II. Refining the Cranium: Constructing the Facial Disc
A. Circumscribing the Facial Disc: Owls are distinguished by their prominent facial discs, structures which augment sound localization. Encircle the anterior portion of the cranium ovoid with a flattened heart-shaped form. This will be the underlying structure for the feathers surrounding the eyes and beak.
B. Ocular Orbits and Interpupillary Distance: Position the ocular orbits within the facial disc. Observe the interpupillary distance; owls generally possess a relatively narrow interpupillary distance, contributing to their binocular vision and enhanced depth perception.
C. The Rhinorotheca: Depict the rhinotheca (beak) as a sharply curved, downwards-pointing structure emanating from the center of the facial disc. Observe its curvature and the subtle variations in texture.
III. Detailing the Plumage: Achieving Textural Realism
A. Mimicking Feather Morphology: Feather morphology varies considerably across the owl’s body. The plumules (down feathers) are soft and fluffy, covering the thorax and abdomen, whereas the pennaceous feathers (contour feathers) are more rigid, forming the wings and tail. Render these differences through varying stroke weight and layering.
B. Directional Strokes: Employ directional strokes to simulate the natural lay of the feathers. Observe how feathers converge and diverge, creating patterns that define the owl’s form. Hatching and cross-hatching techniques can effectively convey depth and shadow.
C. Highlighting and Shadowing: Judicious application of highlights and shadows is crucial for imbuing the drawing with three-dimensionality. Pay close attention to the light source and how it interacts with the complex surface of the plumage. Use a kneaded eraser to lift graphite and create subtle highlights.
IV. Rendering the Ocular Region: Capturing the Gaze
A. The Iridal Pattern: Owls possess striking irides, often exhibiting vibrant yellows, oranges, or browns. Replicate the intricate iridal pattern with meticulous detail. Vary the tonal values to create a sense of depth and luminosity.
B. Pupillary Constriction and Dilation: The pupil is typically large and dilated in nocturnal environments. Reflect this in your drawing by depicting a large, dark pupil. A subtle highlight can add a sense of moisture and realism.
C. Superciliary Ridges: Owls often possess pronounced superciliary ridges (eyebrow-like structures) that contribute to their characteristic expression. Subtly render these ridges to convey the owl’s perceived demeanor.
V. Constructing the Wings and Talons: Depicting Predatory Adaptations
A. Wing Morphology: The wings are complex structures composed of numerous feathers arranged in precise formations. Understand the arrangement of primary, secondary, and tertiary feathers to accurately depict the wing’s form. Overlapping the feathers gives the wing depth and realism.
B. Talons and Unguiculate Digits: Owls’ talons are formidable instruments for capturing prey. Render the sharp, curved claws (unguiculate digits) with precision. Pay attention to the texture of the scales covering the feet and legs.
C. Perspective and Foreshortening: Consider the perspective and foreshortening of the wings and talons. As these structures recede into the distance, they will appear shorter and more compressed. Accurate foreshortening is essential for creating a convincing illusion of depth.
VI. Refining the Composition: Adding Context and Detail
A. Background Elements: Consider adding background elements to provide context and enhance the overall composition. A simple branch, a moonlit sky, or a suggestion of woodland foliage can add depth and narrative to the drawing. Do not over complicate the background, so the owl remains the focus.
B. Textural Variations: Introduce subtle textural variations to further enhance the realism of the drawing. The rough bark of a tree, the soft texture of moss, or the gleam of moonlight can all contribute to a more compelling and immersive artwork.
C. Value Gradations and Atmospheric Perspective: Employ value gradations to create a sense of atmospheric perspective. Objects in the distance should appear lighter and less detailed than objects in the foreground. This technique can effectively convey depth and create a more realistic sense of space.
VII. Iterative Refinement: The Path to Verisimilitude
A. Critical Self-Assessment: Regularly step back from your drawing and critically assess your progress. Identify areas that require further refinement and make necessary adjustments. Use a mirror to view the drawing in reverse, which can often reveal subtle inaccuracies.
B. Comparative Analysis: Compare your drawing to reference photographs of owls. Pay attention to the subtle details that distinguish one species from another. The more closely you observe, the more accurately you will be able to render the owl’s likeness.
C. Embracing Iteration: Achieving verisimilitude is an iterative process. Do not be discouraged by imperfections. Embrace the opportunity to learn and improve with each iteration. Through diligent practice and keen observation, you will gradually hone your skills and create increasingly realistic depictions of these captivating creatures.
