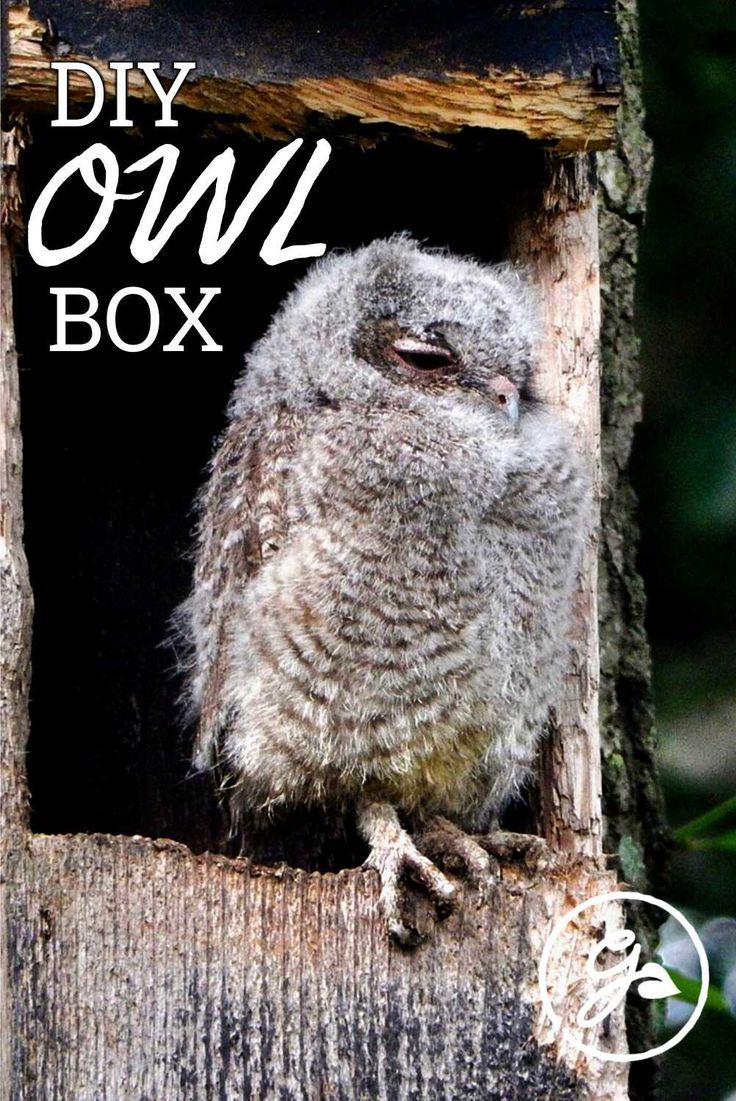
Ever pondered inviting a feathered phantom, a nocturnal navigator, into your backyard? An A-frame owl box might be just the ticket. But can you construct a suitable abode for these discerning raptors? The challenge lies in creating an environment that appeals to their specific nesting predilections. This comprehensive guide illuminates the pathway to crafting your very own A-frame owl box, ensuring a safe and welcoming haven for these beneficial creatures. Let’s begin this endeavor, transforming your backyard into an avian sanctuary.
I. Understanding Owl Habitat Preferences
Before wielding your saw and hammer, grasp the nuances of owl residential expectations. Different species exhibit disparate nesting needs. Barn owls, for example, prefer spacious, open interiors, while screech owls favor smaller, more enclosed spaces. Factors like entrance hole size, box depth, and overall dimensions profoundly impact occupancy rates. Researching the owl species prevalent in your locale is paramount. This informs the specific design adaptations needed to maximize the allure of your handcrafted habitat.
II. Materials Selection: A Foundation for Longevity
The longevity and efficacy of your owl box hinge on the materials employed. Untreated, weather-resistant lumber is the quintessential choice. Cedar, redwood, or exterior-grade plywood offer superior durability against the elements. Avoid pressure-treated wood; the chemical treatments can be noxious to avian inhabitants. Opt for screws rather than nails for enhanced structural integrity. Adequate drainage is crucial. Ensure your material choices facilitate the rapid expulsion of rainwater. A well-ventilated box minimizes condensation and inhibits the growth of mold or mildew.
III. A-Frame Owl Box Design Blueprint: A Step-by-Step Deconstruction
The A-frame design offers a simple yet effective structure. Here’s a detailed breakdown of the construction process:
A. Cutting the Lumber: Precision is Paramount
Begin by meticulously cutting the lumber according to the following dimensions (these are approximate and may need adjustment based on the specific owl species you are targeting):
- Two side panels: 24 inches tall, 18 inches wide at the base, tapering to a point at the top (forming the “A” shape).
- Floor panel: 18 inches wide, 18 inches deep.
- Back panel: 24 inches tall, 18 inches wide.
- Roof panels (two): Approximately 21 inches long, 12 inches wide. These should overhang slightly.
- Entrance hole baffle: A small piece of wood, approximately 6 inches wide and 4 inches tall, to be placed below the entrance hole.
Employ a circular saw or jigsaw for accurate cuts. Precision ensures tight joints and a weather-resistant enclosure.
B. Assembling the Frame: A Symphony of Screw and Wood
Attach the side panels to the floor panel, forming the A-frame structure. Use exterior-grade screws for a secure bond. Next, affix the back panel to the rear of the floor panel and the sides, creating an enclosed space. Reinforce the corners with additional screws for added stability. The A-frame is now taking form.
C. Crafting the Roof: Shielding from the Elements
Attach the roof panels to the top edges of the side panels, ensuring a slight overhang. This overhang protects the entrance from rain and provides shade. Secure the roof panels with screws, creating a watertight seal. Consider adding a slight pitch to the roof for improved drainage.
D. Entrance Hole Placement: A Critical Aperture
The diameter and placement of the entrance hole are crucial for attracting the desired owl species. A 4-inch diameter hole is suitable for screech owls, while a larger 6-inch hole caters to barn owls. Position the hole approximately 4 inches below the apex of the A-frame. This deters predators and provides a sense of security for the occupants.
E. Adding the Entrance Hole Baffle: Enhanced Security Measures
Attach the small piece of wood below the entrance hole as a baffle. This makes it more difficult for predators, such as raccoons, to reach inside the box. It also provides a landing perch for the owls.
F. Drainage and Ventilation: Essential Amenities
Drill several drainage holes in the floor of the box to prevent water accumulation. Create ventilation holes near the top of the side panels to facilitate airflow. Adequate drainage and ventilation prevent the build-up of moisture and noxious fumes, creating a healthier environment for the owls.
IV. Installation Considerations: Location, Location, Location
The placement of your owl box is as crucial as its construction. Optimal locations include:
- Attached to a mature tree at least 12-18 feet above the ground.
- Mounted on a sturdy pole in an open field.
- Attached to the side of a barn or shed.
Ensure the entrance faces away from prevailing winds. Avoid locations near busy roads or areas with high human activity. A secluded, undisturbed environment is paramount for successful occupancy. Tilting the box slightly forward can also aid drainage.
V. Maintenance and Monitoring: Ensuring Long-Term Habitation
Regular maintenance is essential for maintaining the integrity of your owl box. Annually inspect the box for damage and make necessary repairs. Clean out old nests in the late summer or early fall, after the nesting season has concluded. Monitoring the box for occupancy provides valuable insights into its effectiveness. Observing owl activity near the box is a promising sign. With proper construction, strategic placement, and consistent maintenance, your A-frame owl box can become a cherished habitat for these magnificent creatures, enriching your backyard ecosystem for years to come.
