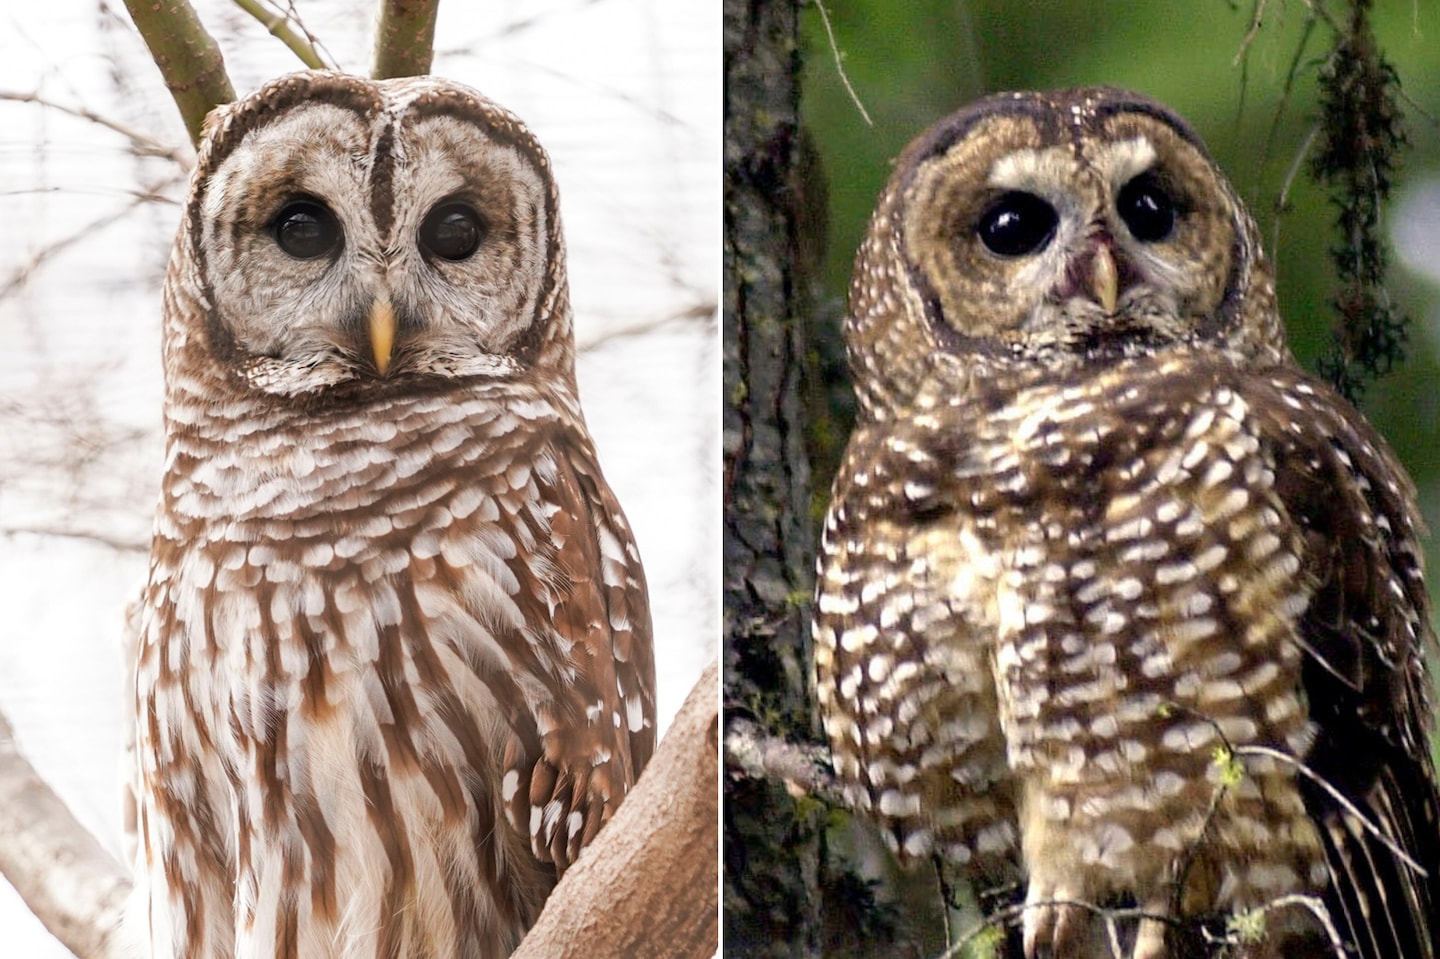
Capturing the elusive beauty of the spotted owl in the wild is a rewarding yet formidable challenge. Once you’ve secured those precious shots, the next stage awaits: the intricate art of post-processing. Editing spotted owl photos is not merely a mechanical adjustment of exposure or contrast; it is a meticulous craft that breathes life into every feather, every gaze, and the mysterious ambiance these remarkable birds embody. Through thoughtful enhancement and precision, post-processing transforms raw captures into evocative portraits that resonate deeply with viewers, exuding the majesty and enigma of the spotted owl.
Preparing Your Spotted Owl Images for Editing
Before delving into the subtleties of fine-tuning, it’s imperative to create an impeccable foundation. Start by selecting your best raw files that retain maximum detail and dynamic range. The spotted owl’s plumage is adorned with delicate patterns and variations in texture; these nuances demand the flexibility that only raw images can provide. Discard out-of-focus frames, but maintain a generous selection that offers diversity in composition, lighting, and pose.
Organize your files meticulously, creating a dedicated workflow folder. Conduct an initial crop to refine composition; keep in mind the rule of thirds but be open to creative framing that accentuates the owl’s enigmatic stare. Carefully straighten horizons if your background includes environmental context. This groundwork paves the way for smoother processing sessions.
Harnessing Exposure and Contrast to Sculpt the Image
Spotted owls often inhabit dim forest environments with dappled light, resulting in photographs with a complex interplay of shadows and highlights. The first substantive step involves judicious exposure correction to recover details hidden in shadowed contours without blowing out lighter areas like the facial disk or eyes.
Adjusting the contrast is pivotal to sculpt the bird’s intricate feather patterns and underscore the subtle gradations from dark browns to soft creams. Employ curve adjustments with finesse—lift shadow regions slightly to reveal texture while simultaneously deepening blacks to preserve depth. The goal is to evoke a palpable tactile quality as if one could trace the feather edges with a finger.
Color Calibration: Balancing Warmth and Authenticity
Color fidelity is essential when editing wildlife photos, especially for a subject as iconic as the spotted owl. The natural environment paints a palette of earthy tones; enhancing these hues without straying into oversaturation maintains authenticity. Start by adjusting white balance—forests can tilt images towards cool or greenish tones subtly distorting the owl’s natural colors.
Introduce gentle vibrance rather than aggressive saturation, focusing selectively on feathers that reflect warm ambers or tawny shades. Employ localized hue adjustments selectively on the owl’s facial disks or underwing barring to accentuate detail without compromising realism. Precision is critical; excessive vibrancy risks rendering the image artificial.
Enhancing Sharpness and Detail Through Selective Techniques
Feather detail defines the spotted owl’s mystique. To bring this forward, harness sharpening tools with surgical precision, favoring localized sharpening over global enhancements that risk exaggerating noise or artifacts. Focus on edges where feathers overlap or where the intricate barring contrasts most vividly against adjacent plumage.
Complement sharpening with texture and clarity sliders to amplify micro-details, but remain watchful to avoid unnatural crispness. Sometimes, subtle application of frequency separation—a sophisticated retouching technique—can isolate and enhance fine feather textures distinct from broad tonal areas, creating an almost tactile realism in the photograph.
Noise Reduction: Preserving Detail Without Compromise
Shooting in low light conditions typical for spotted owls often leads to high ISO settings, inviting unwanted noise. Noise reduction is a balancing act—too aggressive, and feather details vanish; too light, and grain distracts. Advanced noise reduction tools enable differential application, smoothing noise predominantly in shadow areas while preserving sharpness in the owl’s plumage.
Layer masks prove invaluable here, allowing you to confine noise reduction precisely to background foliage or shadowed forest floor, while keeping the owl’s plumage crisp and detailed. This targeted approach ensures the nocturnal serenity of the habitat is rendered softly, enhancing the image’s atmospheric quality.
Dodging and Burning: Manipulating Light to Guide the Viewer’s Eye
Dodging (lightening) and burning (darkening) are age-old darkroom techniques effectively emulated in digital editing to sculpt light pathways within an image. On a spotted owl photo, use dodging to subtly brighten highlights on the facial disk, eye rims, or the edges of prominent feathers, thereby drawing the viewer’s attention directly to the owl’s soulful gaze.
Burning shadows around the subject—particularly in the background—can isolate the owl and add dimensionality. Avoid heavy-handedness; the effect should appear seamless, leading the eye naturally through the photograph while enhancing mood. These subtle manipulations infuse the image with a painterly quality reminiscent of the chiaroscuro masters.
Background Enhancement and Environmental Context
The environment surrounding a spotted owl can be a vital narrative element. Whether it’s the hazy forest undergrowth or the soft bokeh of distant branches, background treatments help harmonize the owl with its habitat. Consider slightly desaturating or softening distracting elements to prevent them from competing with the subject.
In some cases, a gentle vignette can be employed to border the image with shadow, intensifying focus on the owl and enhancing the wild, secretive ambiance. Ensure these adjustments feel organic; the owl thrives within its woodland realm, and your editing should exalt rather than mar that relationship.
Final Touches: Cropping, Composition Refinements, and Export Settings
After extensive enhancement, revisit composition with fresh eyes. Minor cropping tweaks can strengthen visual balance, ensuring the owl’s eye aligns with compositional focal points. Pay attention to aspect ratios tailored for your intended use—whether gallery print, online portfolio, or social media.
Export settings are the culmination of your efforts. Preserve the highest quality possible, prioritizing lossless formats when archiving, and adjust resolution and compression parameters based on your publication medium. Embed relevant metadata to protect your work and maintain contextual integrity for future reference.
Editing spotted owl photos is a journey that demands an intimate dance between technical acumen and artistic sensibility. Each adjustment, from exposure to meticulous detail enhancement, crafts a vivid story that captures the owl’s essence. Through passionate post-processing, these enigmatic forest sentinels transcend mere snapshots to become timeless testaments of nature’s marvels.