Ever gazed upon the nocturnal majesty of an owl and thought, “Could I possibly capture that enigmatic allure on canvas?” Painting an acrylic owl might seem daunting, especially for neophytes, but with a systematic approach and a touch of artistic verve, anyone can achieve a visually arresting result. This guide provides a meticulously crafted, step-by-step tutorial to transform a blank canvas into a vibrant portrayal of this avian predator.
I. Preparatory Exigencies: Assembling Your Arsenal
The success of any artistic endeavor hinges upon the quality and appropriateness of the materials employed. Therefore, meticulous preparation is paramount. Gathering your supplies beforehand will streamline the creative process and mitigate potential frustration.
A. Canvas Selection: The Foundation of Your Art
Opt for a pre-primed canvas, preferably one with a medium texture. A size of 12×16 inches or 16×20 inches serves as an excellent starting point for beginners. The pre-primed surface ensures optimal paint adhesion and a smoother working experience.
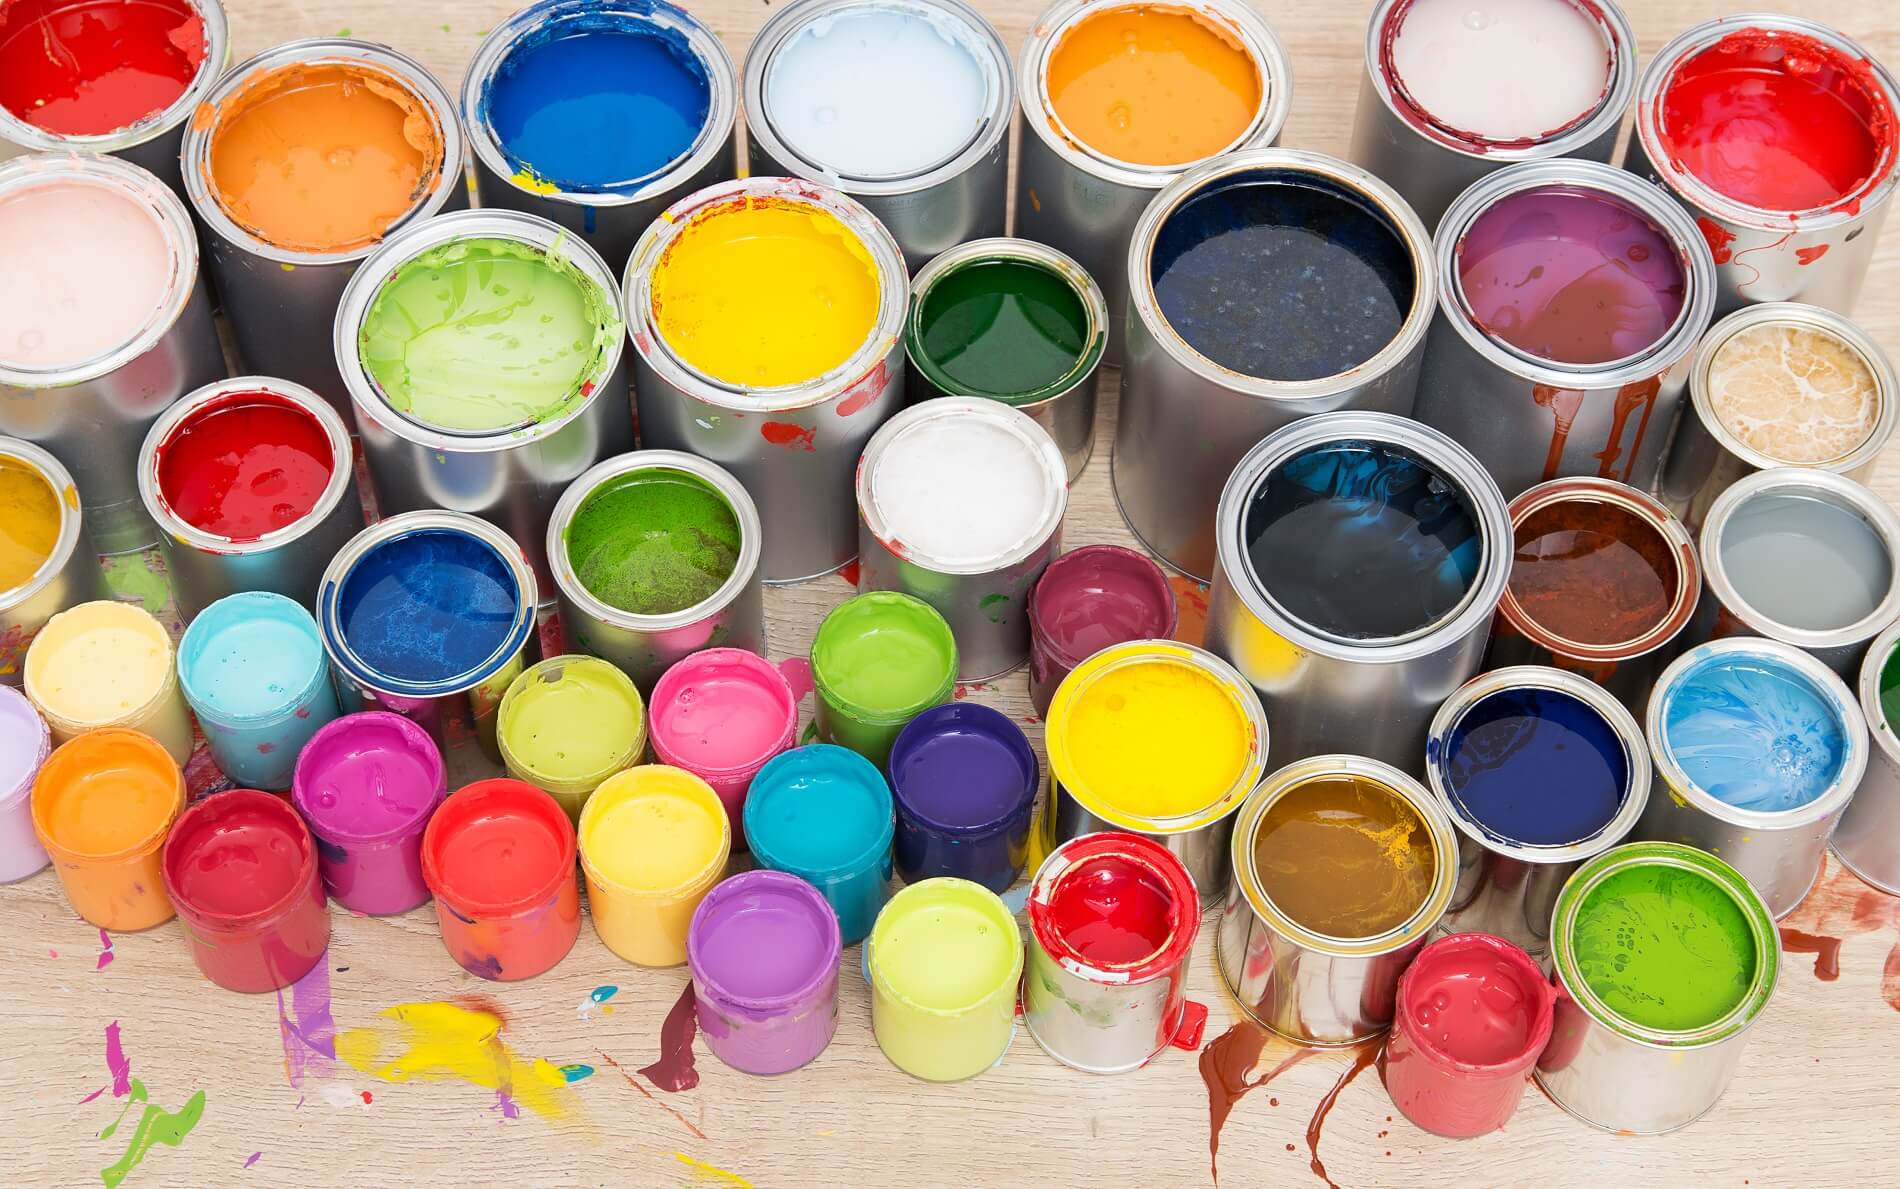
B. Acrylic Accoutrements: Choosing Your Pigments
Begin with a curated selection of acrylic paints. Essential hues include titanium white, mars black, burnt umber, raw sienna, ultramarine blue, and yellow ochre. These colors, when judiciously mixed, can conjure a vast spectrum of realistic owl tones. Consider adding a tube of burnt sienna for richer earth tones.
C. Brush Brigade: Selecting Your Application Instruments
A diverse array of brushes is crucial. A large flat brush (approximately 1 inch) is ideal for broad washes and backgrounds. A medium-sized round brush is versatile for blending and defining details. A small liner brush, with its elongated bristles, is indispensable for rendering intricate feather patterns and fine lines.
D. Auxiliary Accoutrements: Essential Supporting Cast
Beyond the core materials, assemble a palette (a disposable palette pad is highly recommended), a palette knife for mixing paints, a container of water for brush cleaning, paper towels for blotting, a graphite pencil for sketching, and a kneaded eraser for correcting errors without damaging the canvas surface. A spray bottle filled with water will help to keep your paints from drying out too quickly.
II. Sketching the Silhouette: Laying the Groundwork
Before the application of paint commences, a rudimentary sketch is indispensable. This provides a skeletal framework upon which to build the owl’s form and ensures proportional accuracy.
A. Proportional Preliminaries: Establishing the Basic Shape
Lightly sketch the owl’s overall form using a graphite pencil. Focus on capturing the essential oval shape of the body and the circular or semi-circular shape of the head. Pay close attention to the relative proportions of these elements. Keep your lines light and easily erasable.
B. Anatomical Annotations: Defining Key Features
Delicately delineate the placement of the owl’s defining features: the eyes, beak, and ear tufts (if present). Note the positioning of the wings and tail, ensuring they align harmoniously with the body’s posture. Use reference photographs to accurately capture the nuances of owl anatomy. Remember, observation is paramount.
C. Positional Considerations: Exploring Dynamic Compositions
Experiment with different poses. A perched owl gazing intently, an owl in mid-flight, or a more stylized, abstract interpretation – the choice is yours. The pose dictates the narrative of the painting, so select one that resonates with your artistic sensibilities.
III. Imprimatura and Underpainting: Setting the Tonal Stage
The imprimatura and underpainting stages lay the foundation for subsequent layers of color and detail. These steps establish the overall tonal values and create a sense of depth within the composition.
A. Imprimatura Application: The Initial Wash
Apply a thin wash of diluted burnt umber or raw sienna across the entire canvas. This is known as an imprimatura. This neutral tone serves to unify the canvas and provide a middle value against which to build both lighter and darker areas. Allow the imprimatura to dry completely before proceeding. A hairdryer can expedite the drying process.
B. Underpainting Nuances: Sculpting with Tone
Using a mixture of burnt umber, mars black, and titanium white, begin to selectively block in the darker areas of the owl’s plumage, creating a monochromatic underpainting. This stage is about establishing the light and shadow patterns, rather than focusing on specific colors. Pay attention to the direction of the light source and how it affects the form. Blend the tones subtly to create smooth transitions.
IV. Chromatic Infusion: Layering Colors and Textures
This is where the painting truly comes to life. Layering colors judiciously and employing various brushstrokes will imbue the owl with realism and textural complexity.
A. Base Layer Application: Establishing the Dominant Hues
Begin by applying the base colors of the owl’s plumage. Mix your colors meticulously, referencing your chosen source material. Use a flat brush for broader areas and a round brush for more controlled applications. For example, a base layer for a Barn Owl could be created with a mixture of raw sienna, yellow ochre, and titanium white.
B. Layering and Glazing: Adding Depth and Dimension
Once the base layers are dry, begin layering subsequent colors to add depth and dimension. Glazing involves applying thin, translucent layers of paint over the existing layers. This technique allows you to subtly alter the underlying colors and create luminous effects. Use ultramarine blue and burnt umber to create shadows, and titanium white to accentuate highlights.
C. Textural Verisimilitude: Mimicking Feather Patterns
Achieving realistic feather patterns requires patience and attention to detail. Use a liner brush to create fine lines that mimic the individual barbs of the feathers. Vary the pressure and direction of your brushstrokes to create a sense of natural variation. Dry brushing, a technique where a nearly dry brush is dragged across the canvas, can also be used to create a textured effect. Practice on a separate piece of paper before applying these techniques to the canvas.
V. Refinement and Final Touches: Elevating the Artwork
The final stages of the painting are crucial for polishing the artwork and ensuring a cohesive and visually compelling result.
A. Ocular Emphasis: Capturing the Gaze
The eyes are the focal point of any portrait, and the owl is no exception. Pay meticulous attention to the shape, color, and reflectivity of the eyes. Use a combination of yellows, browns, and blacks to create a realistic iris. Add a small highlight of titanium white to suggest a glint of light, which will bring the eyes to life.
B. Background Integration: Harmonizing with the Surroundings
The background should complement the owl and enhance its presence, without overpowering it. Consider using muted tones and subtle gradients to create a sense of depth and atmosphere. A blurry, indistinct background can help to focus attention on the subject.
C. Critical Assessment: Identifying and Rectifying Imperfections
Step back from the painting and critically assess your work. Identify any areas that need further refinement. Are the proportions accurate? Are the colors harmonious? Are the tonal values convincing? Make any necessary adjustments before declaring the painting complete.
Painting an acrylic owl is a journey of discovery, a testament to the power of observation and the transformative potential of artistic expression. Embrace the process, experiment with different techniques, and allow your own unique artistic voice to shine through. The result will be a stunning portrayal of this magnificent creature, a testament to your creativity and perseverance.